Dunnock linocut

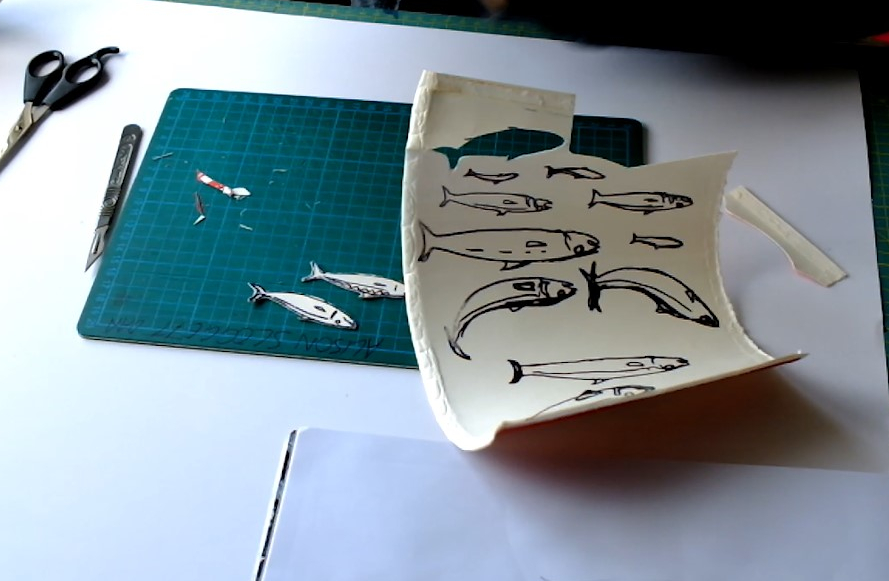
Following on from my Siskin linoprint, I have finally finished carving the first block of a Dunnock linocut.

Its about a5 size. And now I’ve carved it, I need to decide what to do next. I hear you cry, but didn’t you have a plan!? Well yes I had in mind what I thought I wanted this print to look like. But now I have printed the proof of this first layer, the black background again is very striking.

Proof on tissue paper , printed by hand

In my idea I would carve it out of the surrounding lino. But leaving it stark black and white with the inky blackness behind has an appeal. I found this with the siskin print, so left the block so I could print it like that as another option.

Any who, decisions to be made and my troble is I usually quite like all the options so find it hard to choose. I should do some sampling to help me decide, but that usually leads to me being distracted and not finishing original idea. Arrrgggh . These are all nice problems to have though, and this is just a nice place to write then down and have a think.

Putting things into the public domain makes me finish things more so than if I don’t share them , so thanks person reading this 😂

Block before being inked

Recycled printmaking.


Something which is very important in my work is the amount of recycled materials I can possibly use in the process. I like the idea of making something beautiful from essentially rubbish. Thats why I love collagraph making as I tend to use old cardboard packets. another bonus of this is the fact that its a very cheap material, so the pressure of potentially messing up materials you have bought just for the task are not there.


fish starbucks cup fish

fish 2 starbucks cup fish

DSCF5957.JPG

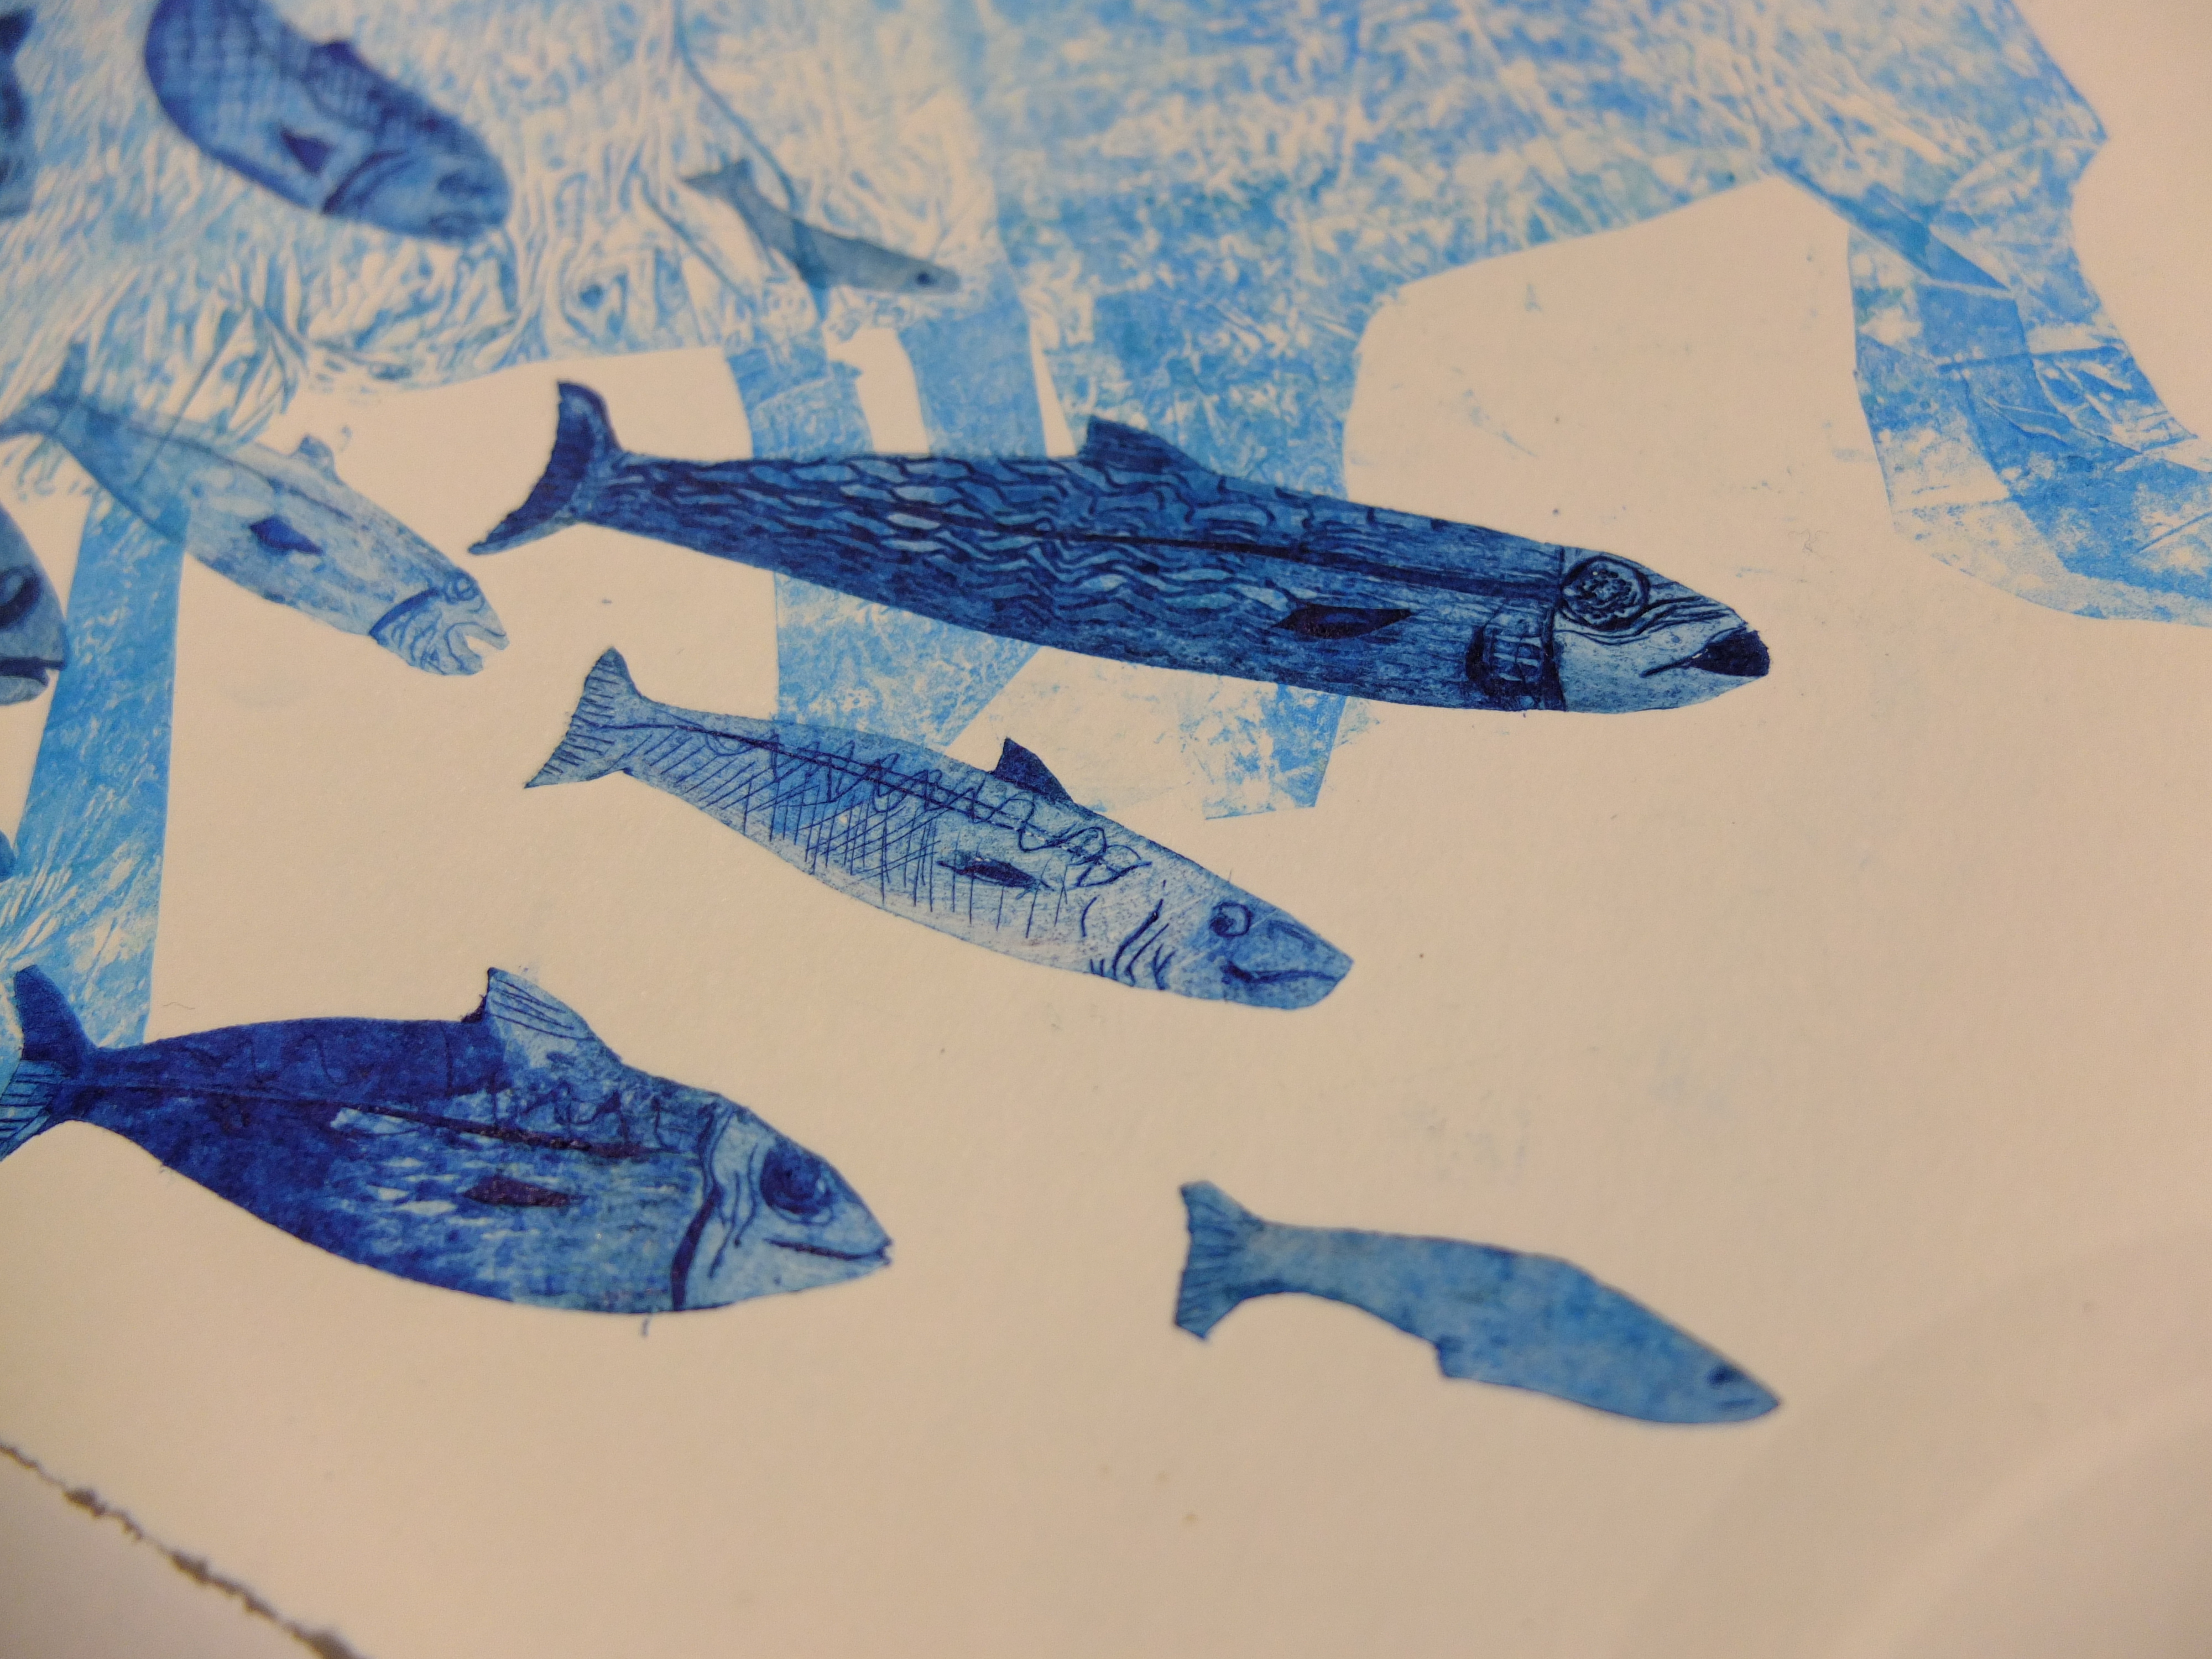
These fish were made from a used coffee cup. the plastic coated card great for wiping ink off of.

Anybody else that have found recycled materials that are great for printmaking? or anything crafty really ?

thanks for reading.

Printmaking in the garden with a home made press!

I have posted a new video on my YouTube channel. I finally finished putting my pasta machine press together and thought I would try out printing from plants with it, and why not do it in the garden as it is a very mobile press!

So please check it out if interested.(Link below) I think the pasta press works remarkably well for soft thin items, like you would mono print with. The idea to mount it on its side came from Snake artist who has great fun art videos on you tube.

Monoprinting with a pasta machine

Cheers!

Tru dat…

Collagraph and letterpress print that I did for my family for Christmas. I made a very limited edition of 4 .

I started with the idea of some ratties for my brother and his fiancée who have pet rats. But when it came to printing them as little individual cardboard plates, I thought they needed something else.

Its the little things in life that do make it better, like family and friends. Little furry friends as well. Flowers, a sunny day or just a really good cup of tea when you are thirsty.

So this print came to be, I spaced my rats out to leave a go for me to stamp some wood block letters into the space.

And now all the households in my immediate family have the same print and message in it. ( and all like rats thankfully 😂)

Viscosity printing on laser etched woodblock ?

Here I found a lasercut piece of mdf that was hanging around the workshop, and I thought I could use it to try a multi colour print.

It was engraved by the laser so I could of just inked it with a roller and printed, or printed it like an intaglio print. As there were different levels to the engraving I thought I would blend the techniques.

And at the time I thought I was doing viscosity printing but doing more research after, I did it slightly differently to the general way you apply ink in viscosity printing.

Viscosity printmaking is a way of applying different coloured ink onto the same plate, utilising the way ink will react to each other if they have different viscosity (thickness or oilyness)

Here is the plate after I had scraped yellow ink into it, as you would an etching or collograph plate. Yellow ink or at least the etching ink here is naturally runnier than other pigments, I don’t think I altered it with anything, thinking as it was going to be the lowest inked bits it wouldn’t matter ( not quite right!)

Then I wiped it with scrim…

Then I mixed an orange ,

I applied this layer of colour with a soft neoprene roller, the idea being the soft roller deposits the ink on some of the lower areas. When I rolled it over though, the orange covered most of the yellow I could see! Anyway I carried on with my next colour.

Contrasting pale blue I thought would pop out, and the idea behind viscosity printing is the layering of colours without them blending, so this colour would be a good test of that thought I.

Here is the plate before I rolled the blue on, which I made a stiff ink , by adding some chalk to, or magnesium carbonate works as well.

When I rolled the blue on with a firm roller, it did not stick very easily , because I had got the order muddled up. A stiff ink wont stick to an oily ink , but oily will stick to stiff.

Either way , into the relief press it went. I used damp paper and some felt blanket for a soft packing so the paper would be pressed into the blocks low places.

Here is one of the prints I took. I like the way the ink had blended on the highest points, but that wasn’t what I was going for. But cutting myself some slack, the ply wood had a textured surface so it wouldn’t have been a solid colour whatever I did perhaps .

It was an interesting block to ink up, and I learnt a lot about layering ink by doing it wrong and I’ve almost remembered the mantra stiff wont stick to oily… I think..

Thanks for reading, happy printmaking.

Drypoints and Chine Colle

This was me trying out printing drypoints on my press.

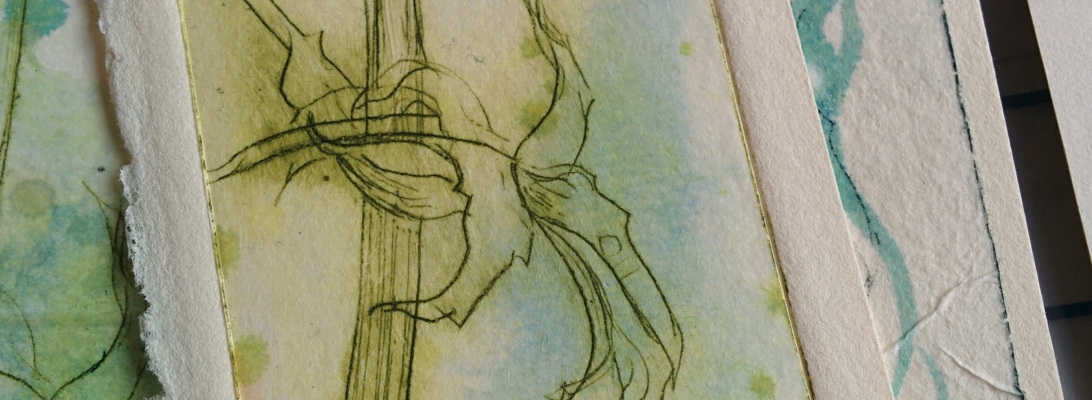
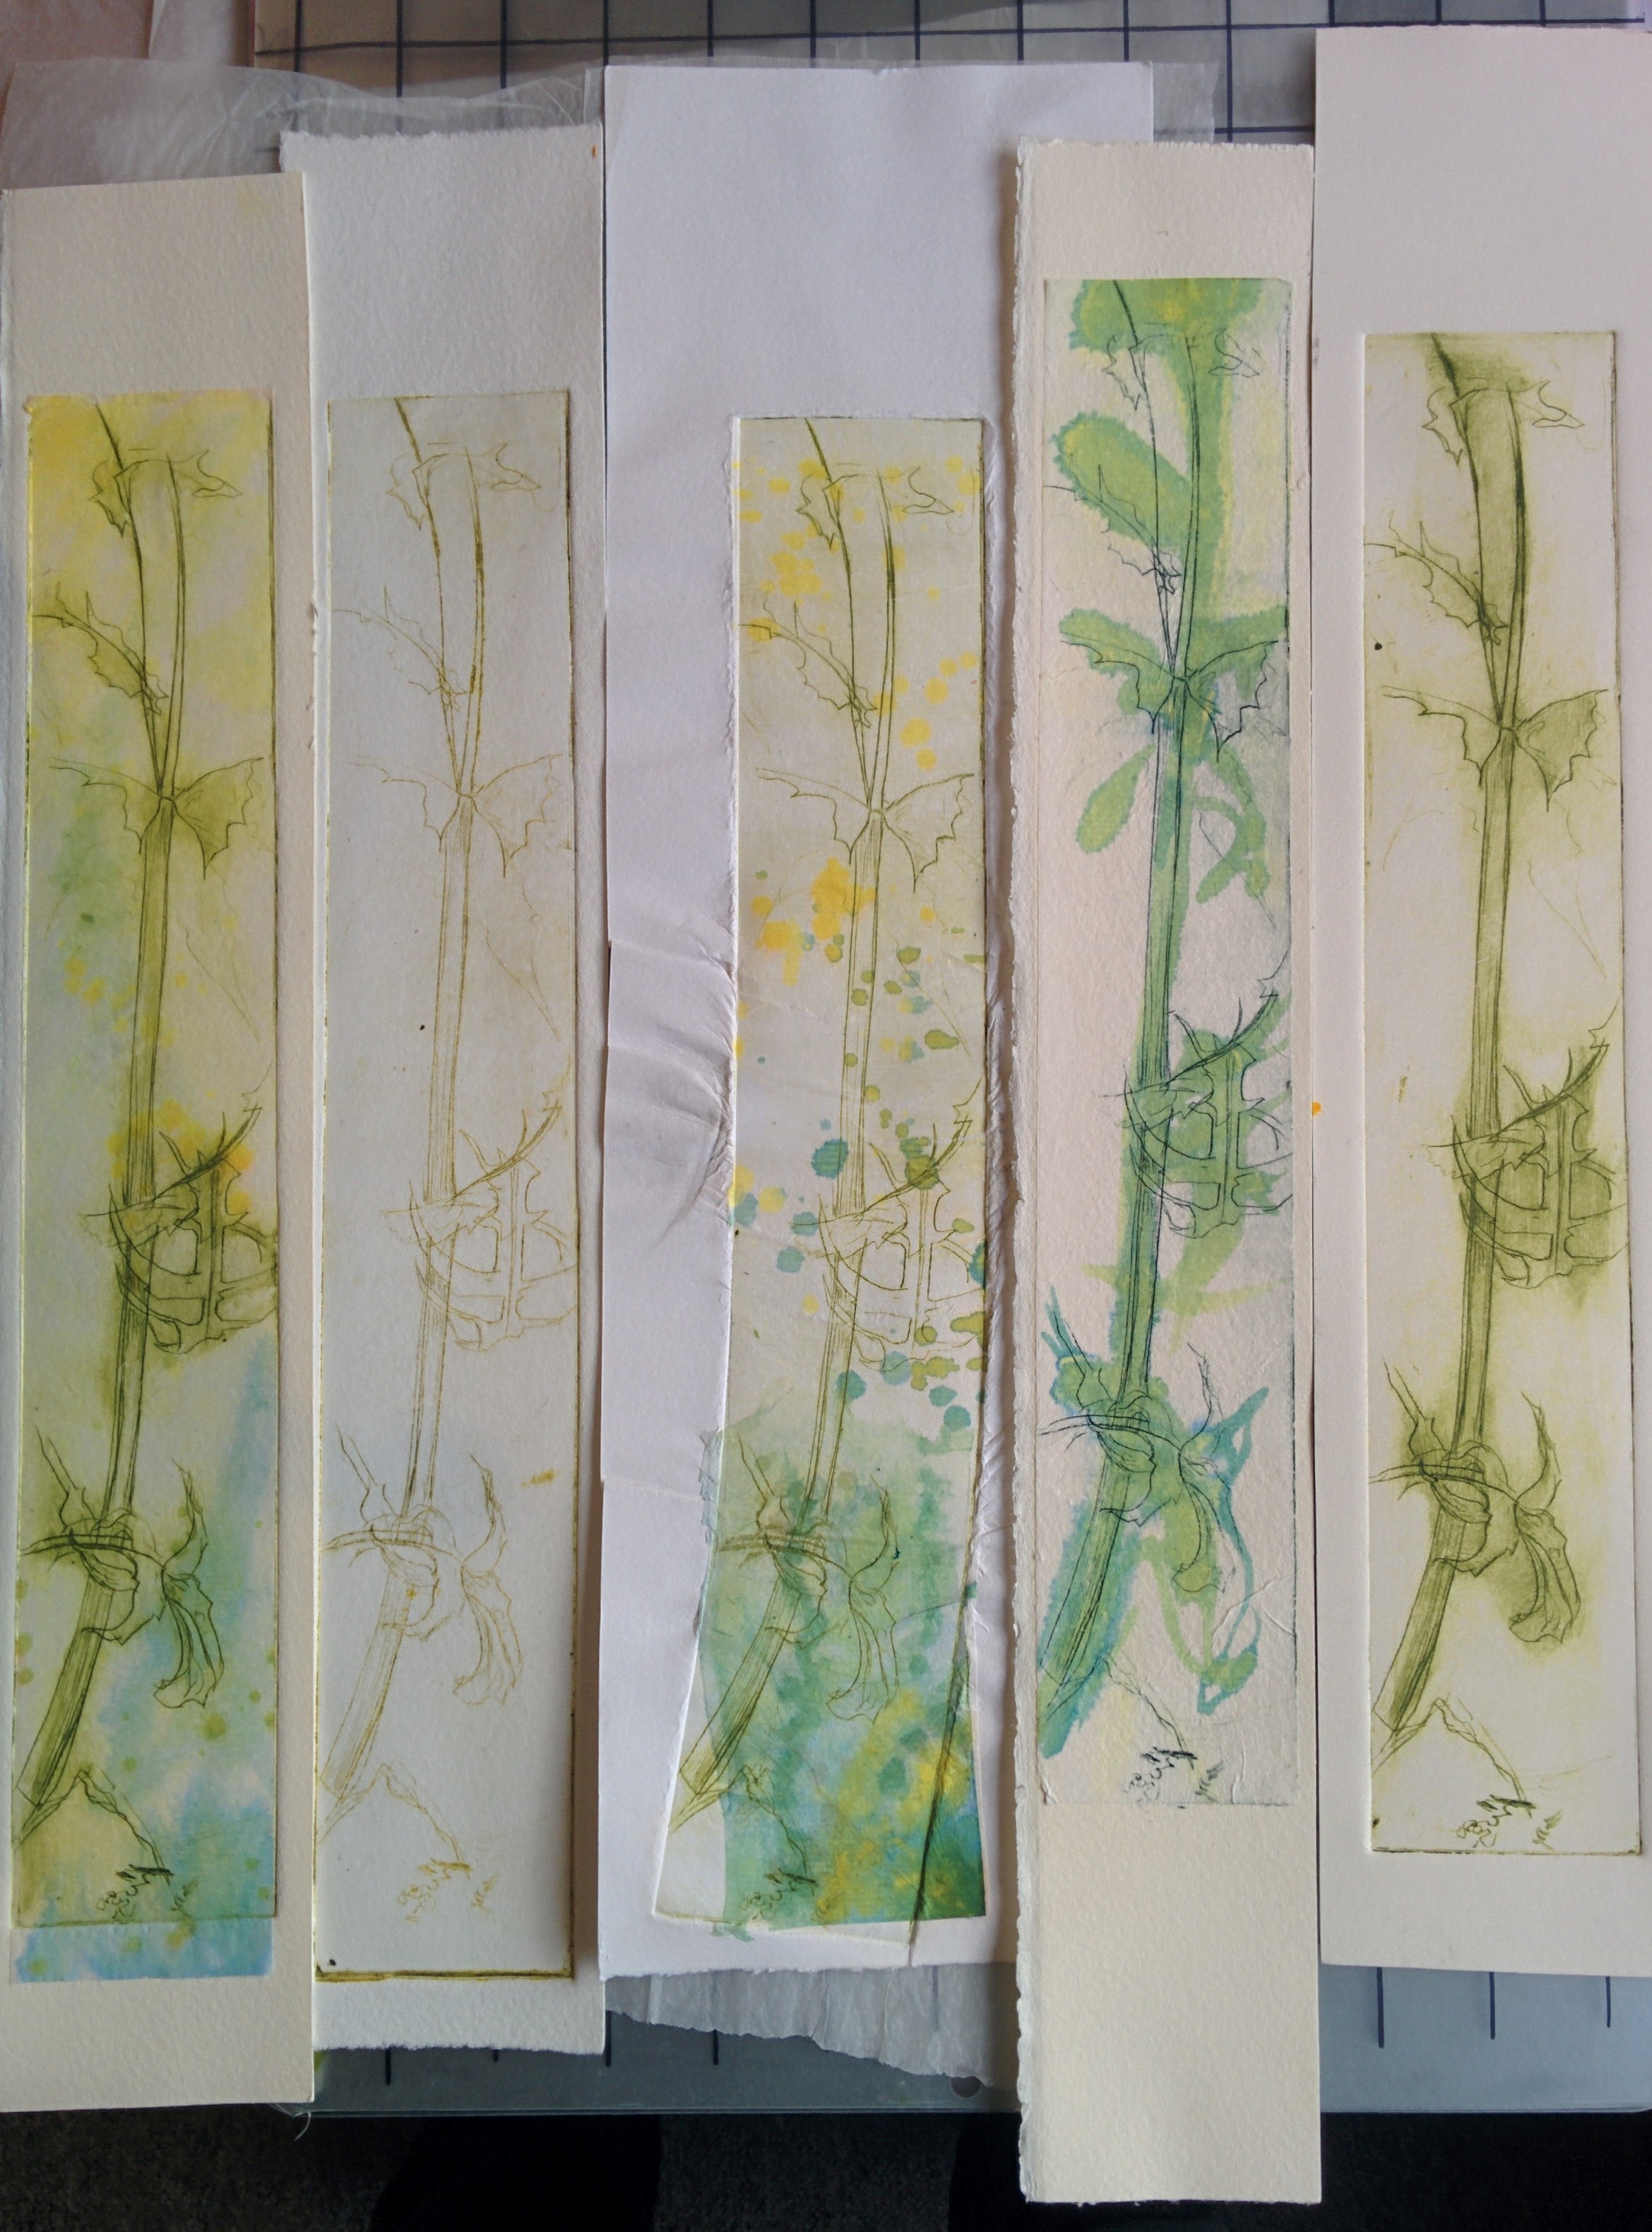
My drypoints are on perspex sheets , this one was of a sow thistle from the garden. I tried various combinations of leaving ink on the plate, printing with colour as I found some colour inks I thought I could use as intaglio ink ( they worked alright ), and adding a layer of chine colle.  I was using rice paper for this , which I was adding ink to as well before passing through the press.IMG_20170727_154916IMG_20170727_160700IMG_20170727_163058

Woops! Still some practice needed to get the pressure right on my little press. I was pushing it to its limits to try to get enough pressure to stick the chine colle properly. But this was tooo much pressure !


IMG_20170727_202137IMG_20170727_202112

I’m pleased with all the colours and think the chine colle does add something.

Kitchen Litho How To

Hello, in a previous post I talked about how excitied I was to finally try Kitchen Litho as it is known. Here is my attempt at a how to on the process. It is not a very hard proccess at all , or even that long winded, and I am sure you could have a go and have loads of fun with it !

I originally found this process in a copy of Printmaking Today,  back in 2012 written by a lady called Emilie Aizier-Brouard. 


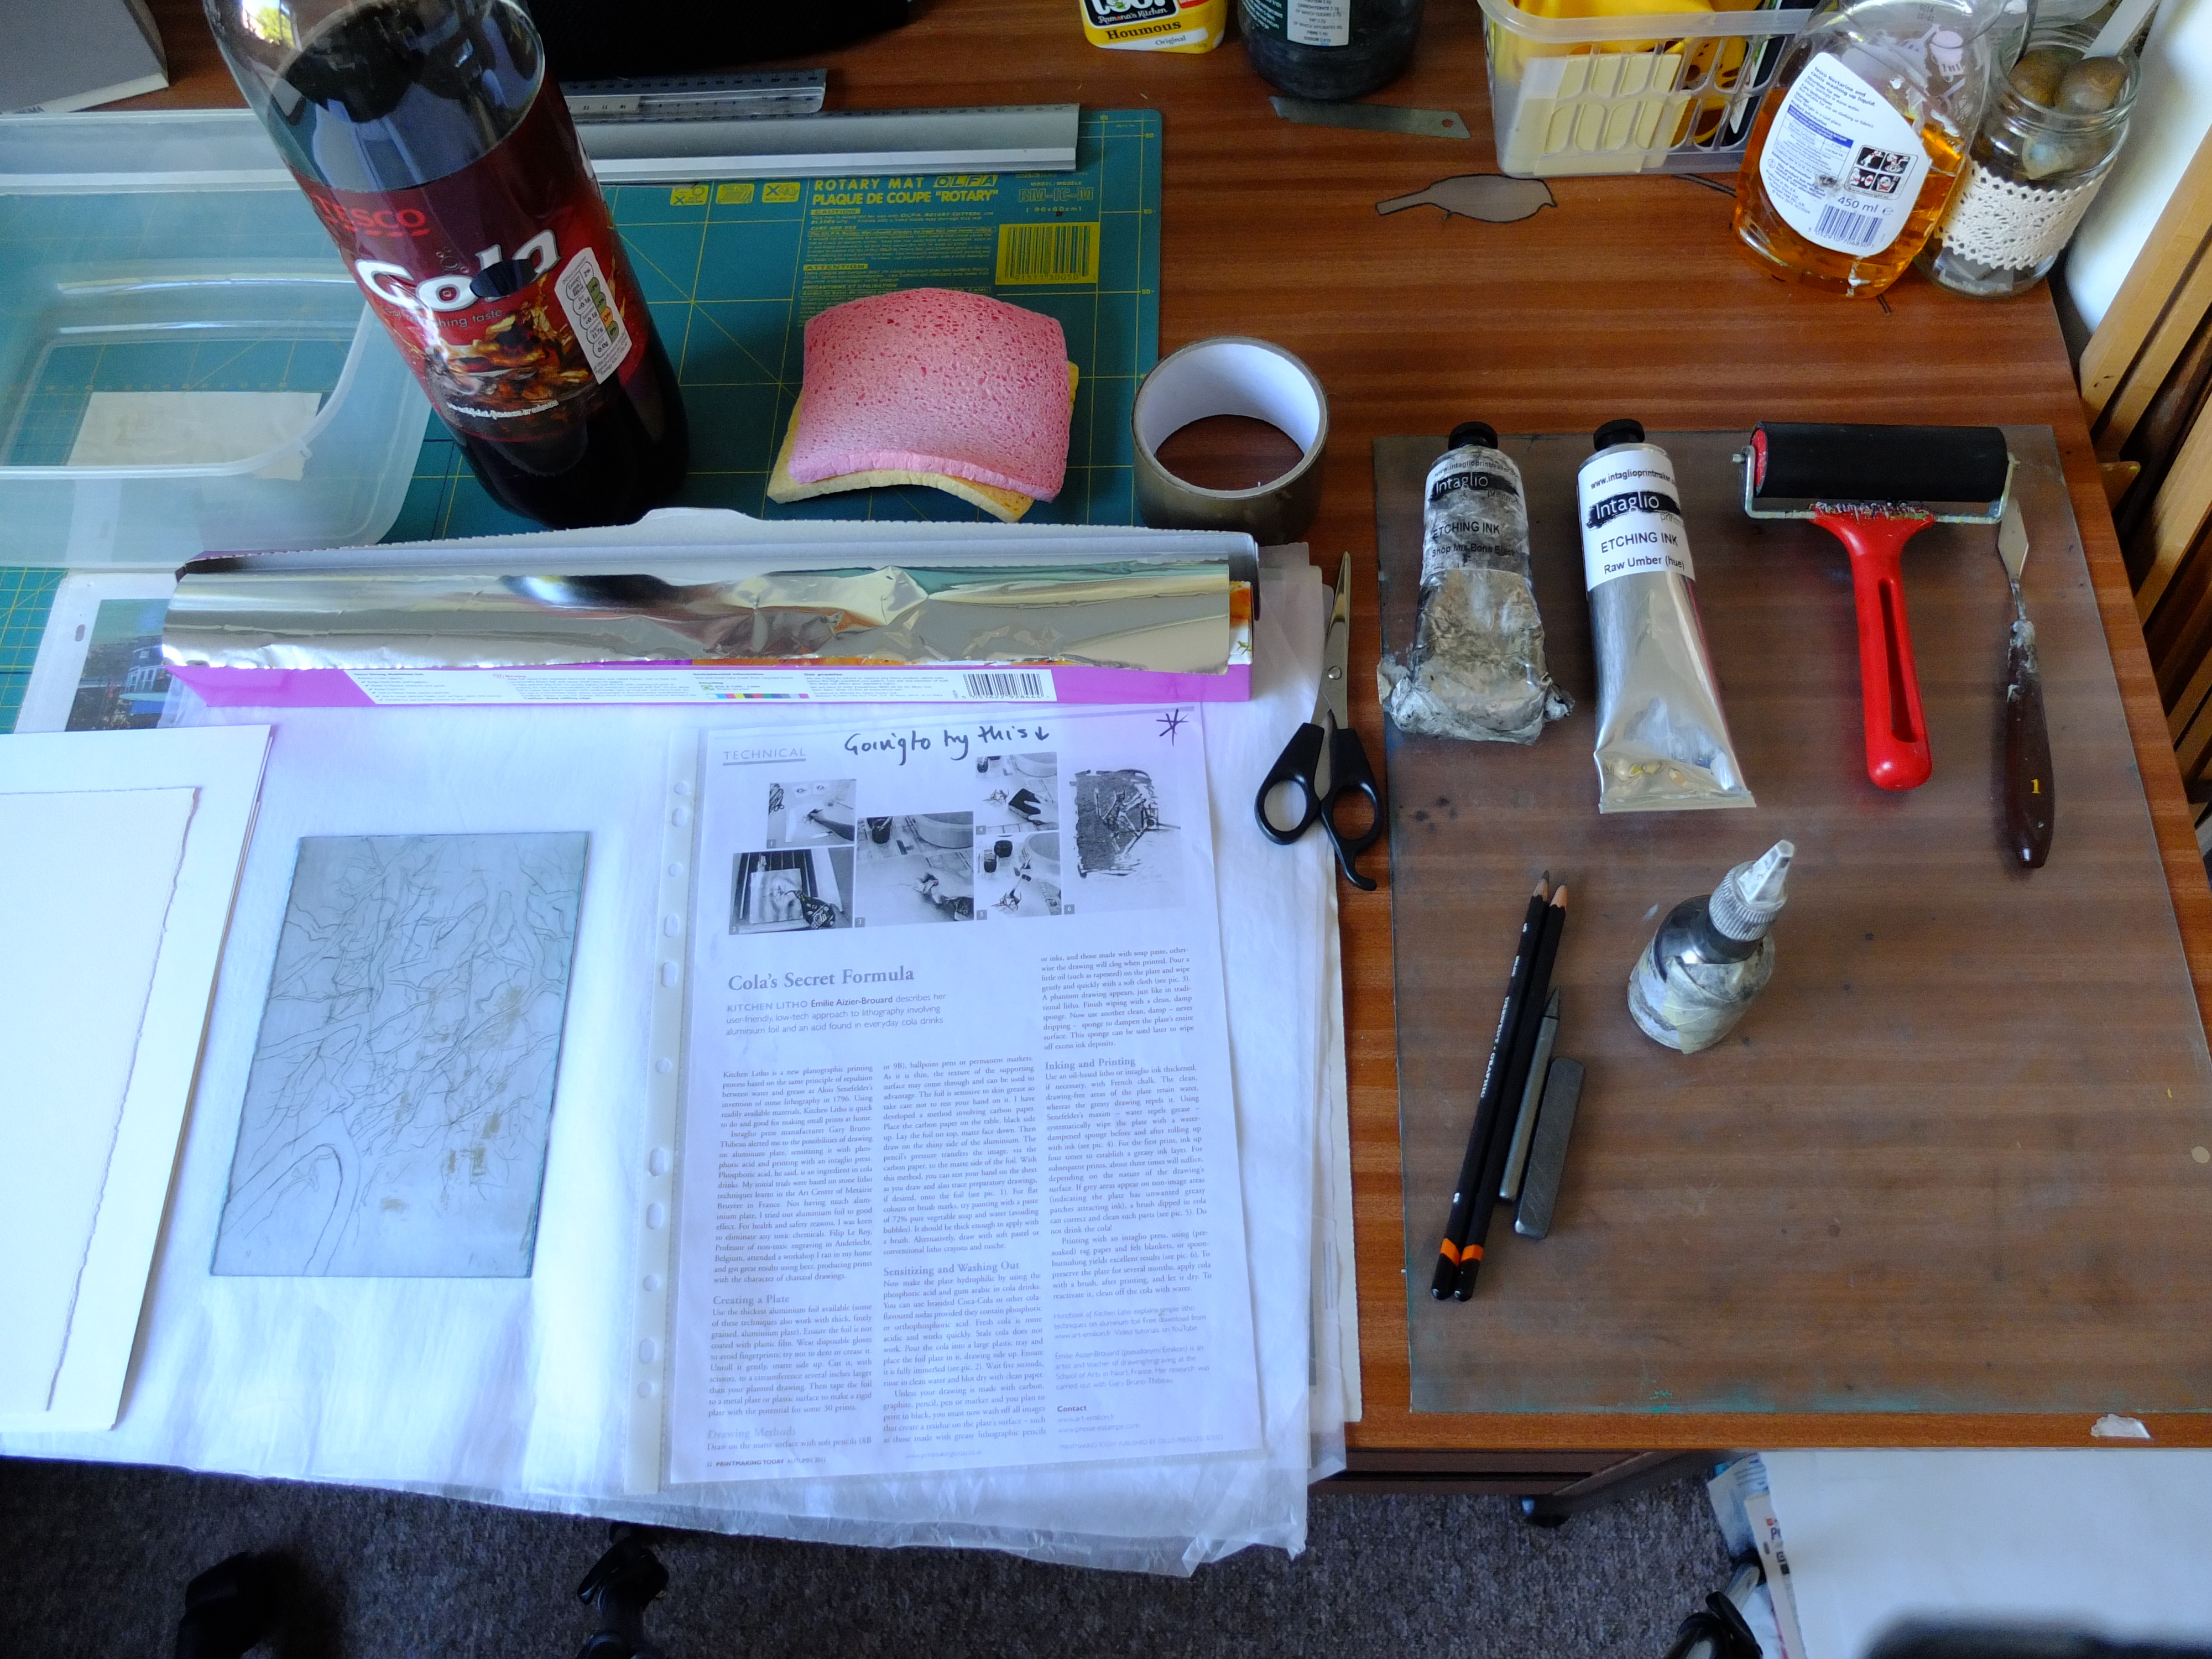
Step 1: Gather STUFF!
S0011001

  • Cola (fresh is better )
  • Aluminium foil (the stronger the better )
  • tape ( parcel is better )
  • clean damp sponge (the wetter the better !!… er, no, wet but not dripping is best)
  • a plastic or metal sheet to wrap foil around
  • thick oil based ink and roller
  • a plastic tub to hold you bath of cola. (not shown here )
  • Paper to print on , and blotting paper if using soaked paper
  • Drawing materials:  softest graphite, anything oily to make a mark with , permenant markers, biros. (plenty of chance to experiment here )


Step 2: Preparing your plate ( fiddliest bit)

wrapping plate

You will be drawing on the mat side of the foil, BUT BE CAREFUL NOT TO TOUCH IT WITH YOUR BEAR HANDS !  Any hint of grease will show in your final print ( see my print below *sigh*), wear disposable gloves to be sure, I did not have any to hand….

Take your plate , I used an old bit of perspex to wrap my foil around.  Cut the foil larger than your plate . then with mat side out ( make sureit is resting on something clean and grease free) wrap your sheet.

back of plate

Here is the back side of my wrapped and stuck plate. Parcel tape is good, as it is water resitant and thin . Make sure that there are not any gaps or holes where cola can get underneath your foil otherwise it will get messy! Cola squirting out when you least expect it …

I used clean( ish ) tissue paper to work on to help keep the plate grease free.


Step 3 : Drawing on the plate
S0031006

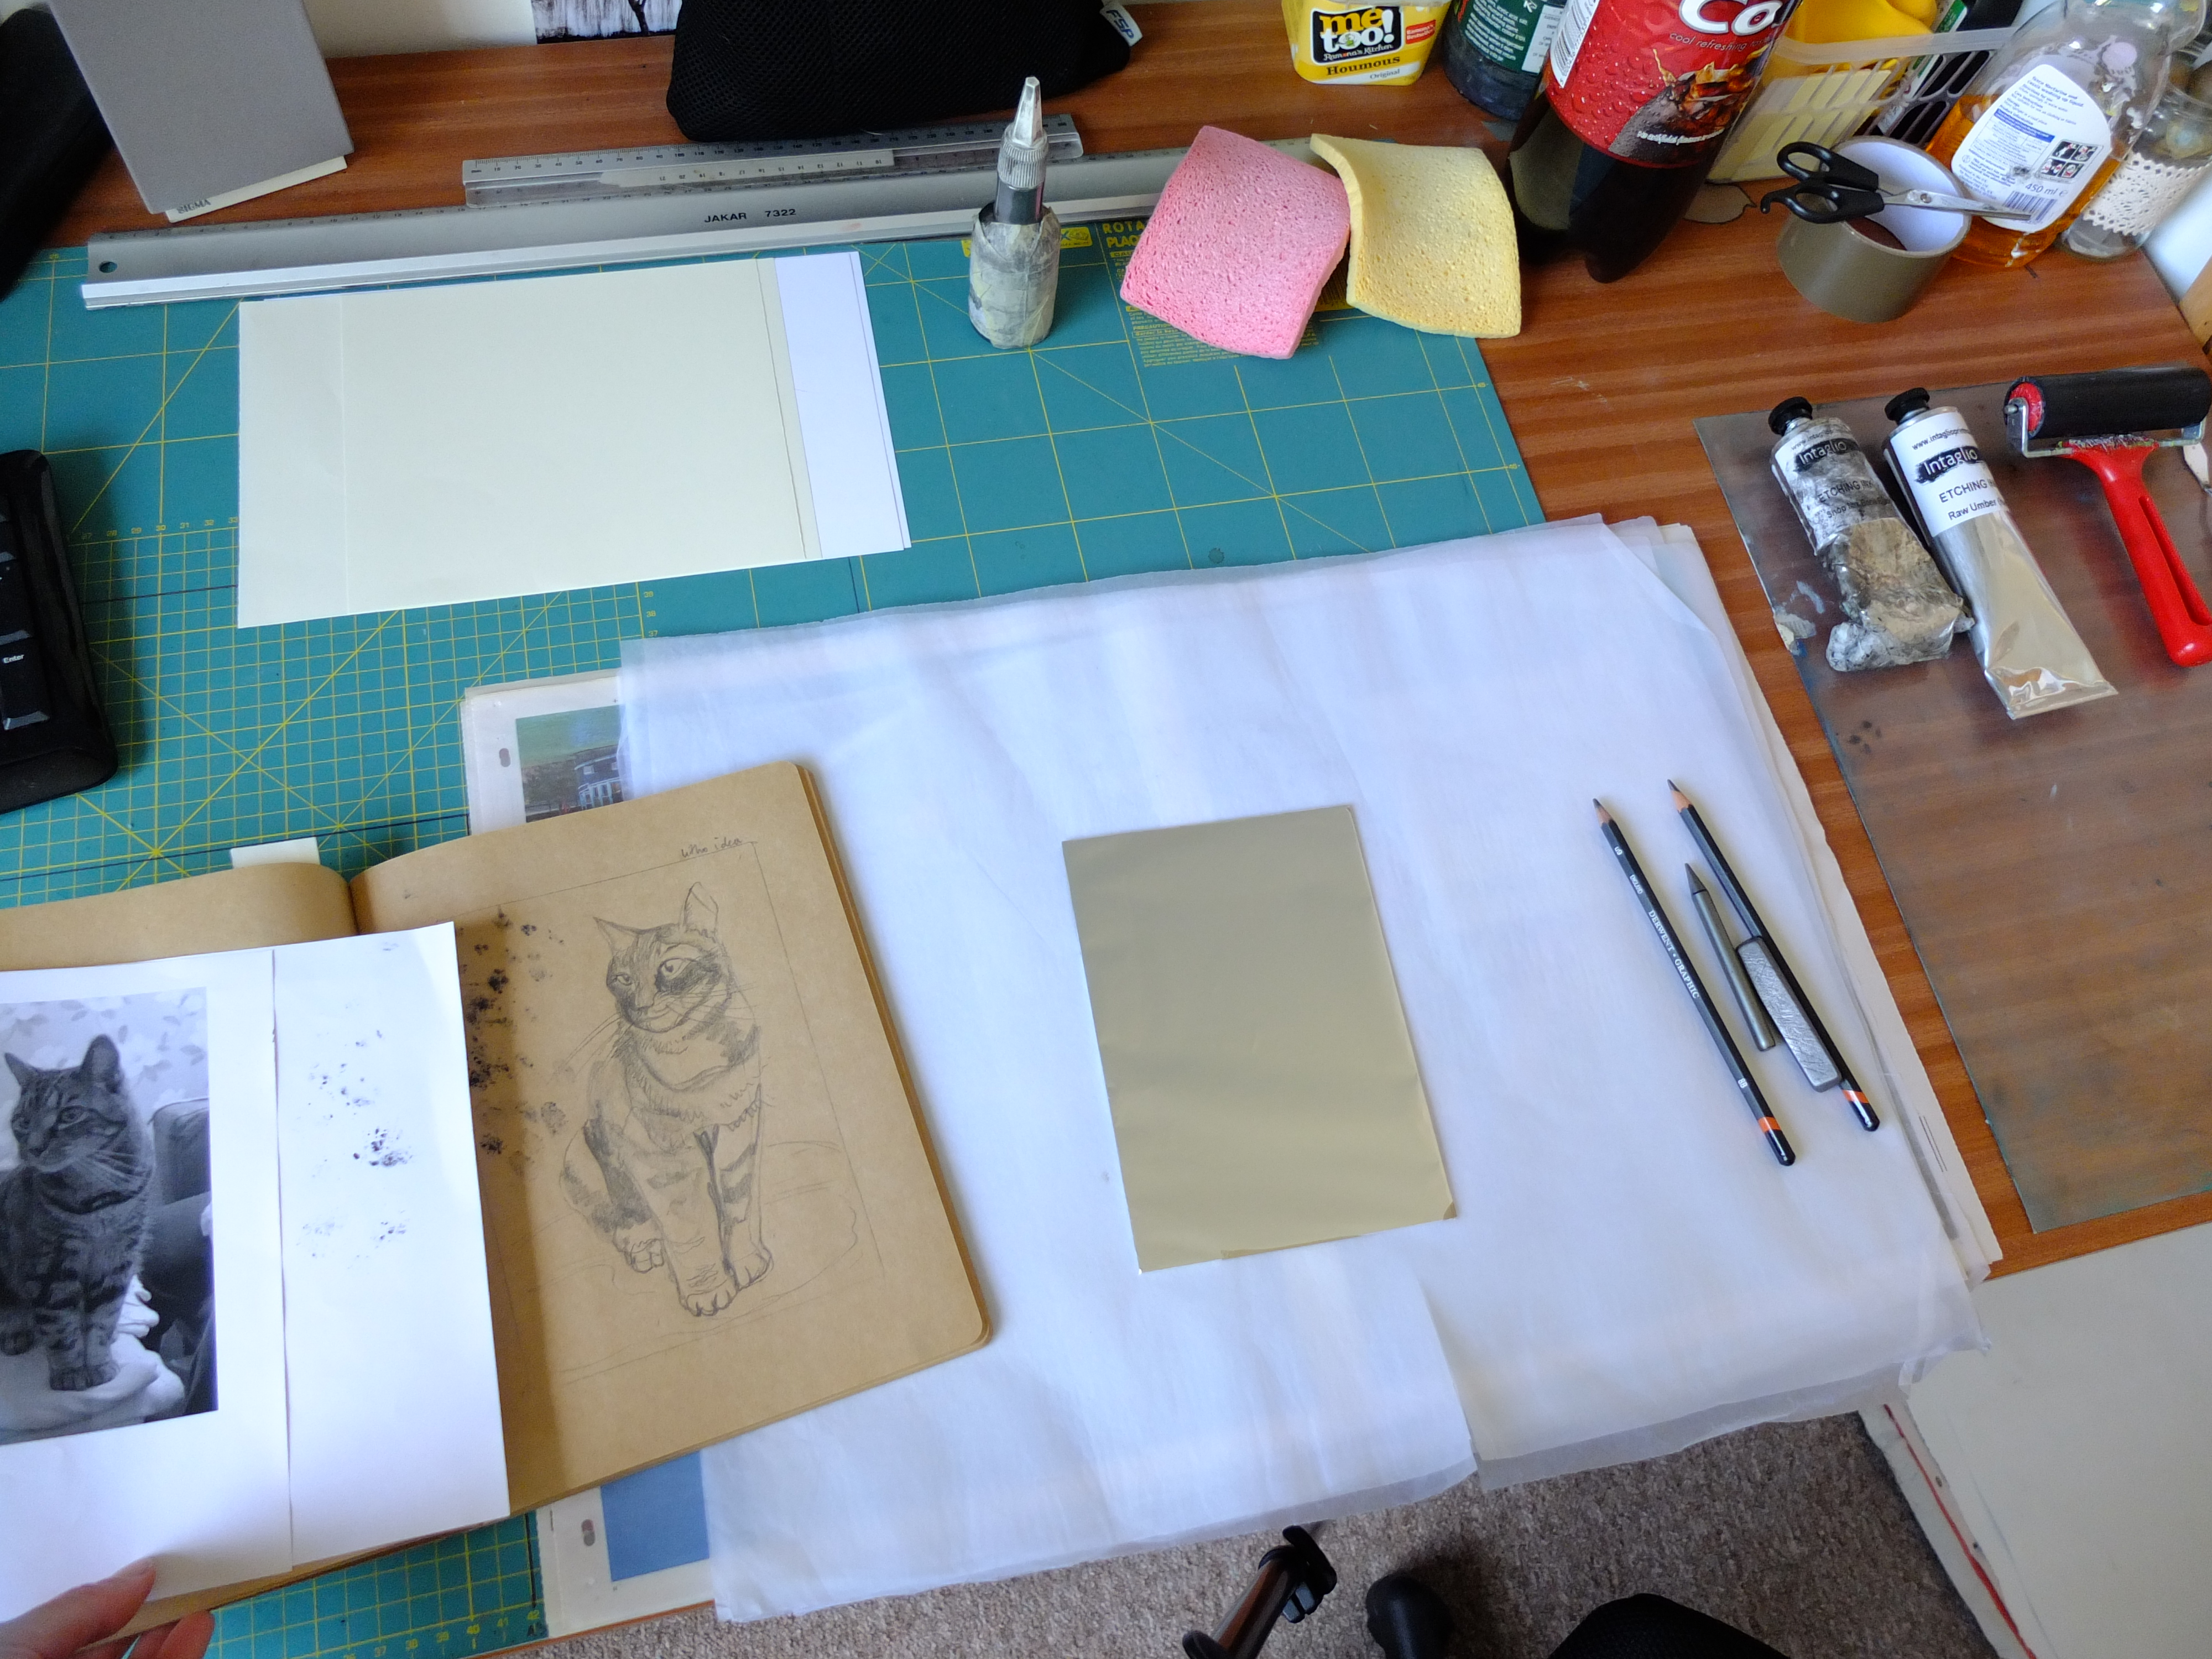
I chose a picture that I thought would suit the sketchy line style that this printing process is best at.

I kept to a simple selection of drawing materials, soft grapihte pencil ( 8B or 9B is  best) and a graphite stick, again soft.
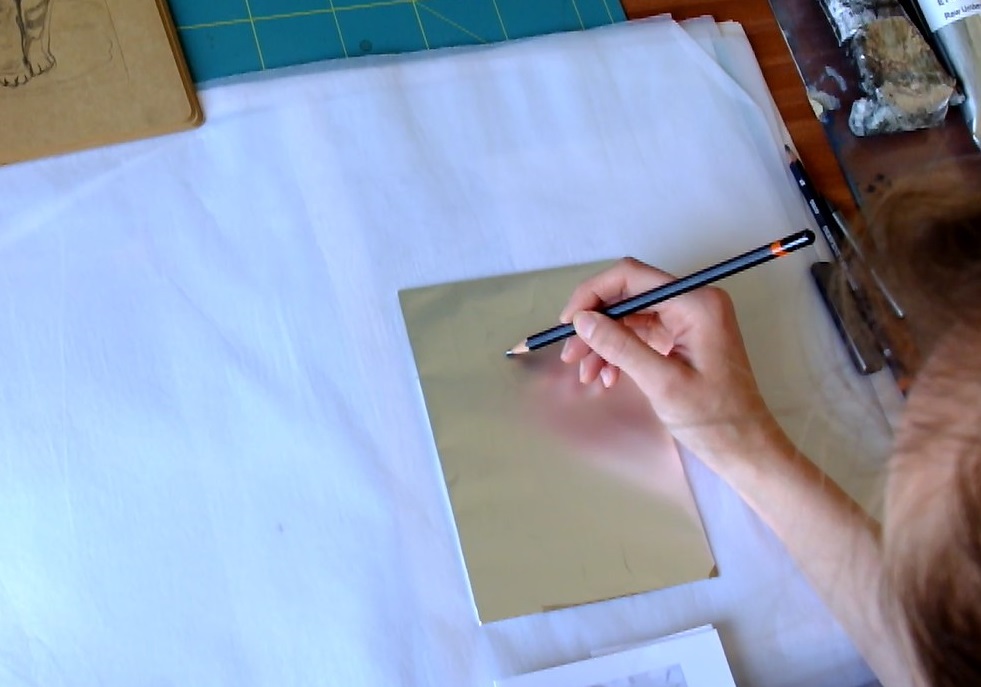
drawing on plste

You have to keep your hand from touching the suface as you draw. I like this as it keeps you from spending too long on the drawing . From my brief foray into this process the print quality is lovely but leans towards the informal. It would be hard to make it very clean and precise. I might be wrong and would love to know  what other people are doing with the process.

S0041008

Finished drawing

Step 4: Sensitizing the plate
cola bath time

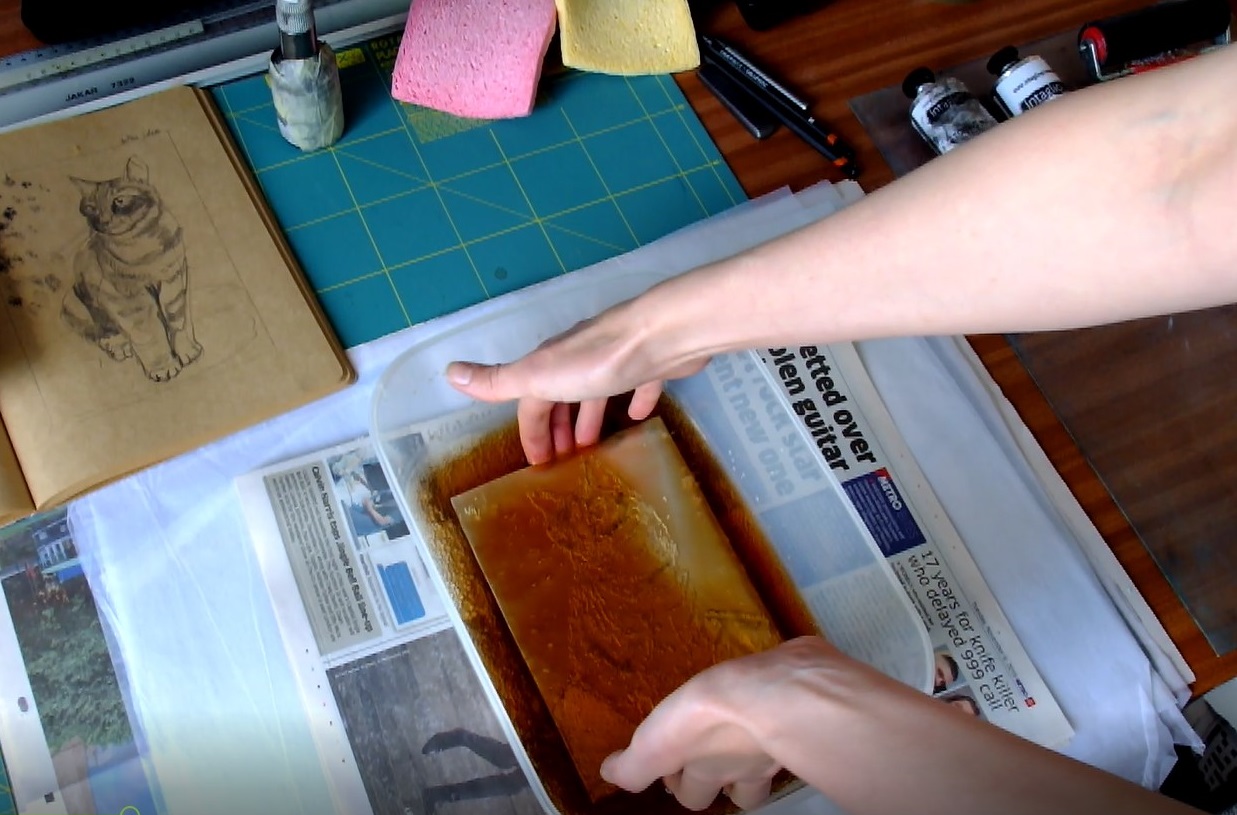
Pour your fresh cola into a plastic tub, enough to submerge your plate, and leave for 5 seconds and then go and rinse with clean water. Simple as that !!

IF I had used other drawing tools, such as oil pastels,  and was going to try to print in another colour other than black, I would now have to wash off the drawn marks after sensitizing the plate.  To do this you pour a little oil ( such as rapeseed) on the plate and wipe it off quickly and gently with a soft cloth, you should see a phantom image apear . then wipe over with a clean damp sponge .  If you left marks on the plate which left a residue,  when you tried to ink it up it would clog.

The phosphoric acid and gum arabic in the cola makes the areas that have not been drawn on , hydrophilic. This means water will sit in a film on the surface, but be repelled from the drawn areas, which will catch the ink from your roller.

Senefelders Maxim – water repels grease.


Step 5: Inking and Printing
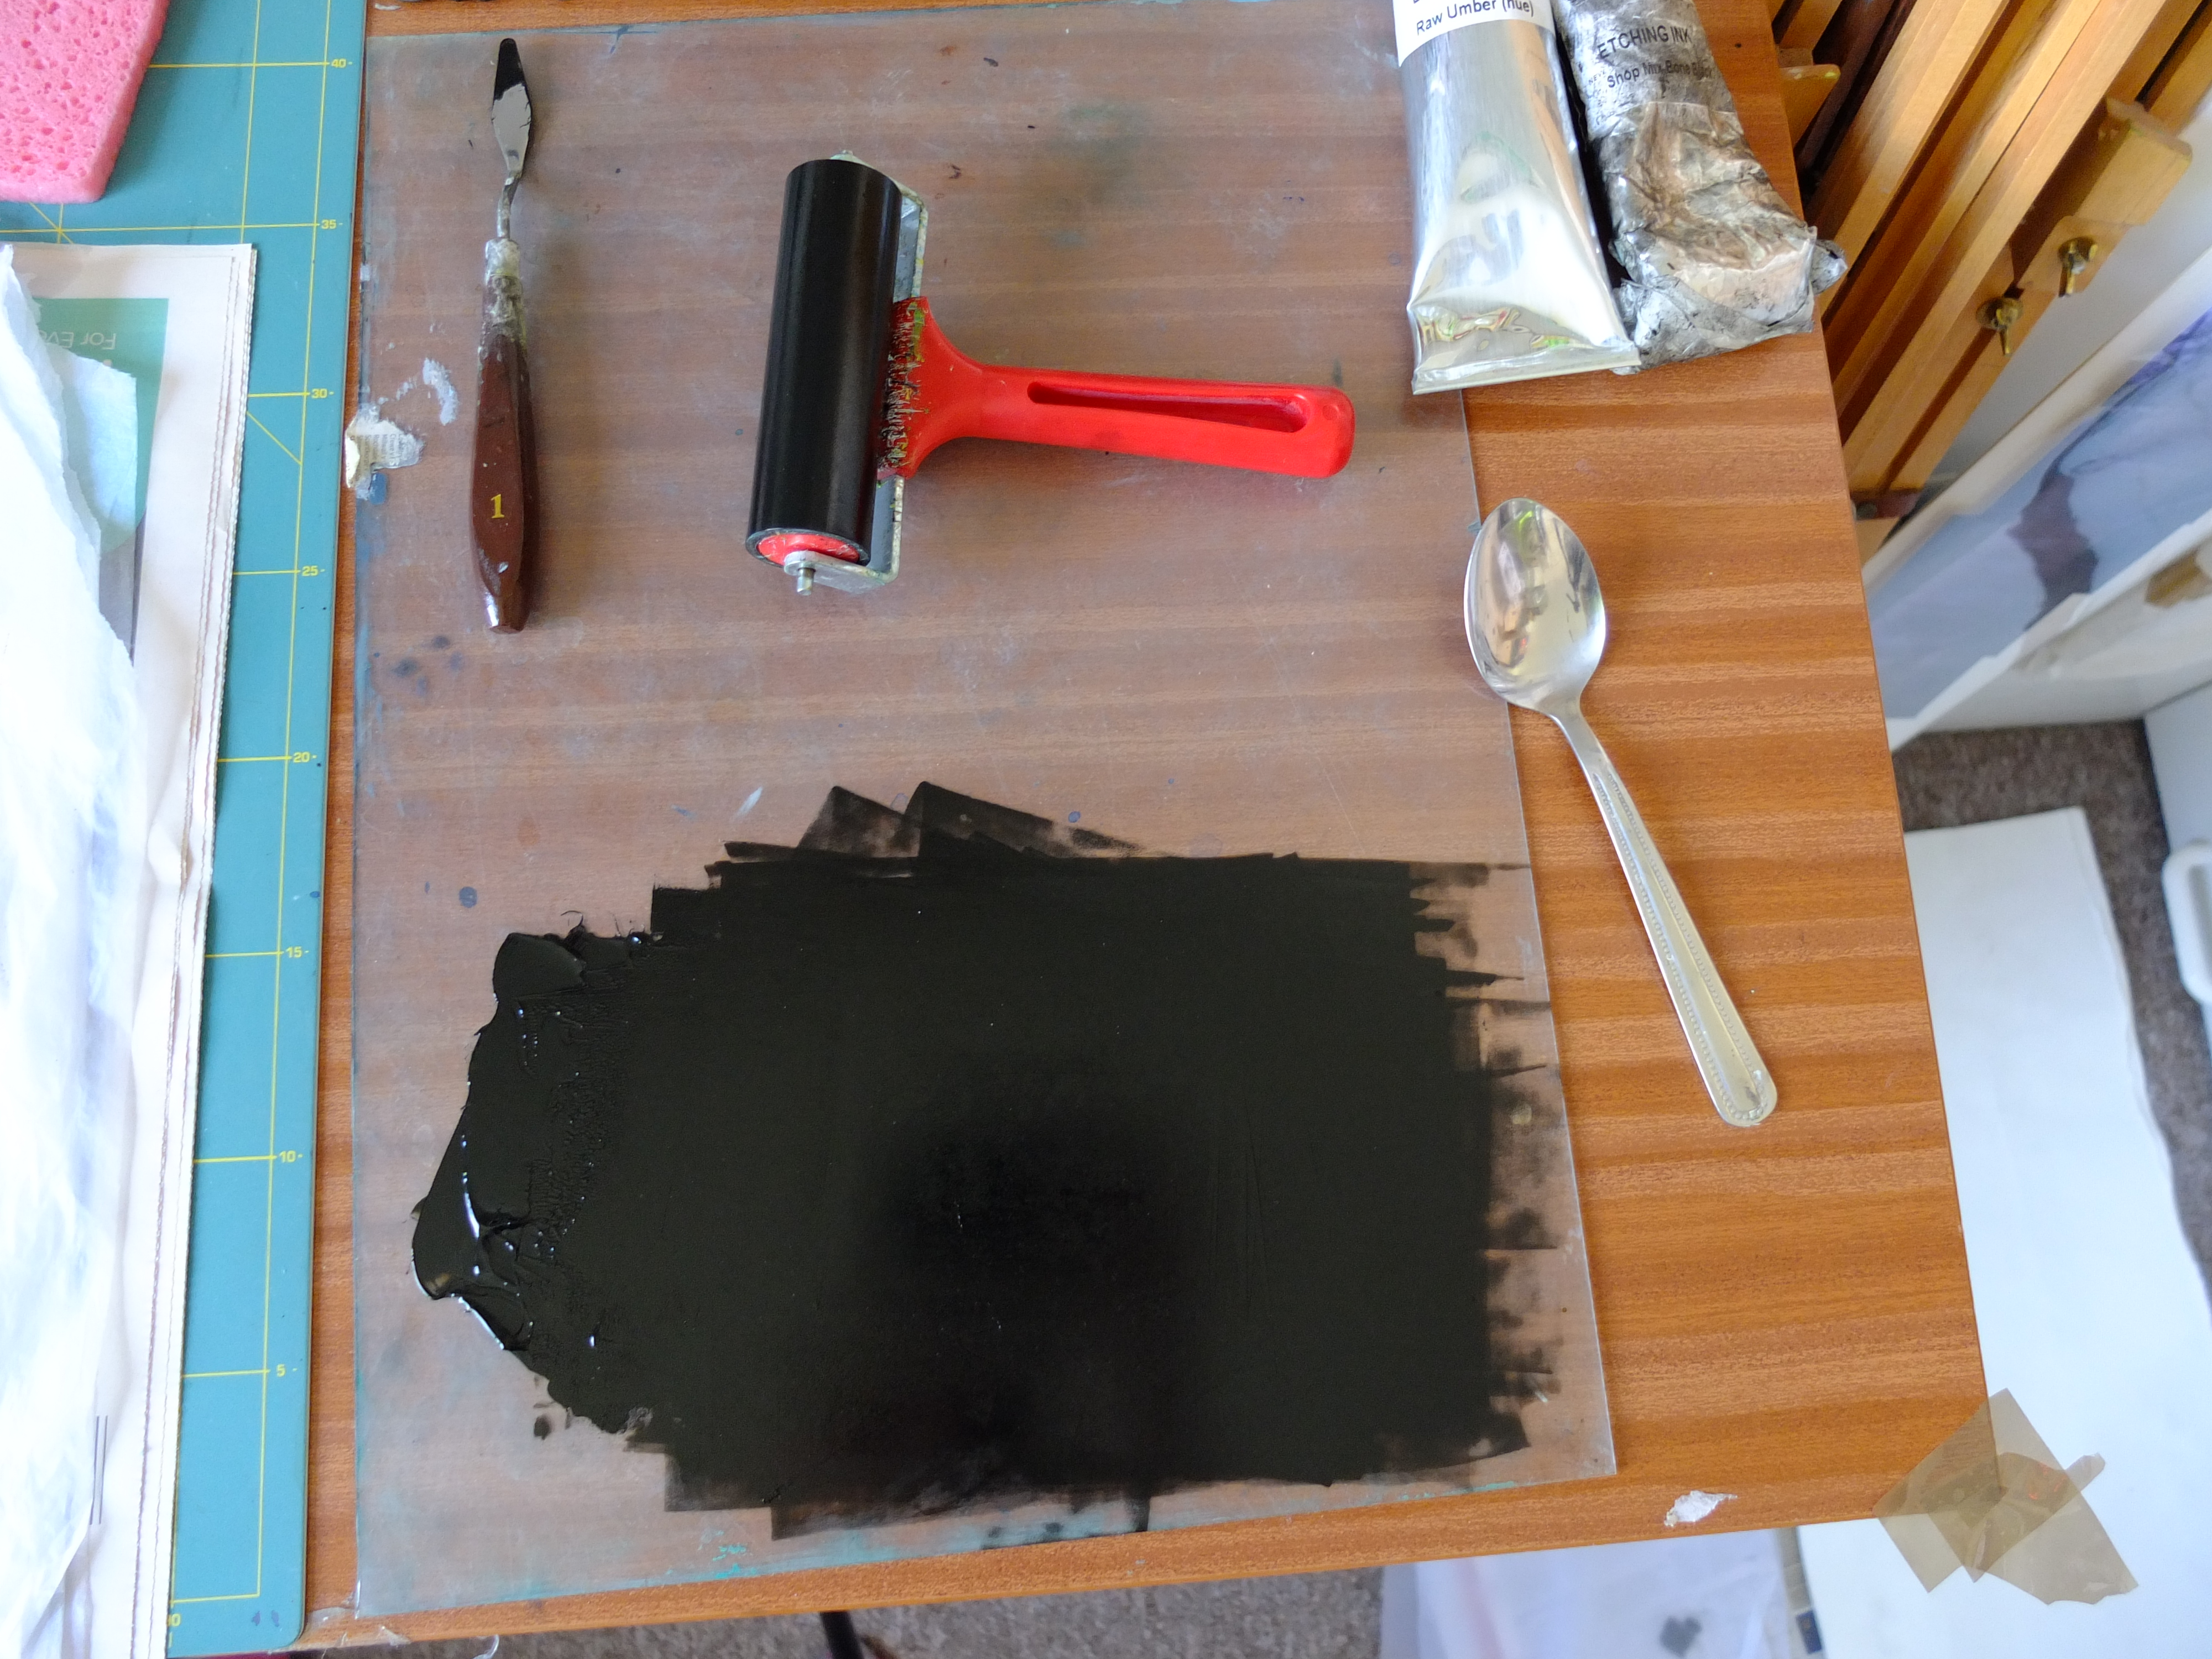
S0141022

Ink rolled out , Im using intaglio ink, Raw Umber and bone black . Thick ink is important, but I’m not sure why!

S0151023S0091014

Before you roll your ink over, you need to make sure you wipe over your plate with your wet sponge, getting the right amount of water on the plate is important and you will just have to try it out and see what works for you.

When you first ink up your plate it will need several passes of ink , wiping over with your sponge in between, and probably will not be as dense a print as the next one, as more ink gets built up on the plate. S0101015

You can see here where in the top half of the image I touched it with my fingers  it has picked up my finger prints, woops!  If there are areas where ink is gathering and its not supposed to be , you can use a brush dipped in cola to clean off those areas .

S0111016

Printing using my mini printing press.

I tried both damp and non damp paper , using  a spoon as a baren and the printing press to compare results.  I will post the results in another entry.

S0121017

S0221032

S0191029

I got at least 10 Prints from this plate , and I think I could get more from it  which is pretty good going.

My technique needs perfecting as my plate gathered quite a bit of ink as it went along. I will try;

less ink on roller,

adding chalk to ink to make it thicker,

wiping with sponge before every pass of roller,

and having roller that is same size as plate.

and being more careful touching the edges of my plate in the first place !

Hope you find this post useful and I would love to see what you make with it .

Thanks for reading.

‘Kitchen lithography’. Its so easy !

You know those things that have been on your to do list since time began? 

Well one of mine was to have a go at kitchen litho, since I found an article on it at university. That was some time ago now! 

I finally had a go at it , and its amazing ! I will post a more in depth blog on it once i have practised it a bit more myself, but you can find information on it if you search kitchen lithography or something similar. It, compared to lithography in a studio , is a much faster , nontoxic way of getting drawing-like prints at home. Your print run would be small but it’s so exciting to be able to do it at home. 

Here are some pics of my first go…

The plate made of aluminium foil taped tightly and carefully to a piece of perspex, next to my first print from it.

Three prints, it started getting ink on the rest of the plate after this not sure why, more experimenting needed.

 I drew onto the tin foil with soft graphite, 8b and above. This was a quick sketch of a Dandelion. 

Any questions please ask